|
|
|
||||||||
|
|
|
||||||||
Lil' Greenee - 1973 RWA MG Midget |
||||||
| Greenee's Home | Engine | Interior | Trunk | Suspension | 100's of MG Links | |
| Electrical shelf | Exterior | Interior2 | Carbs | Item replaced | Spridget specific Links | |
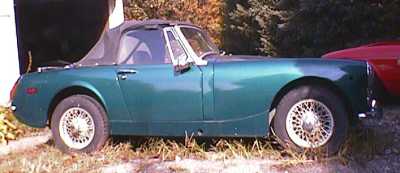
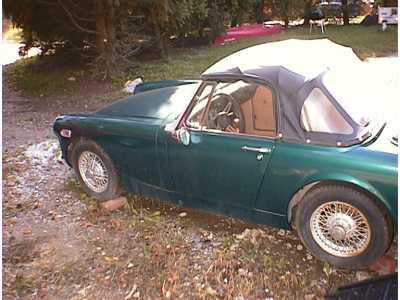
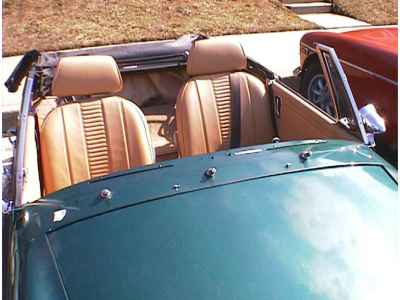
AS PURCHASED:still sitting in
front of the P.O.'s house,
where it hasn't moved for two years. Doesn't look to bad
does it. A true '10 footer'. (a visual rule of
measurement)
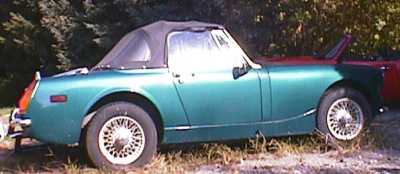
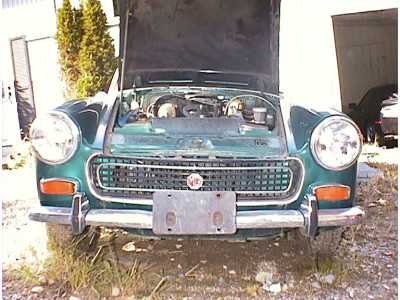
AS PURCHASED: you can see my '78
Spitfire in the background.
Doesn't look like the roof fits too well either. (PPssst! ..it's shrunk
really Badly!) Passenger mirror definitely can't be seen by the
driver.
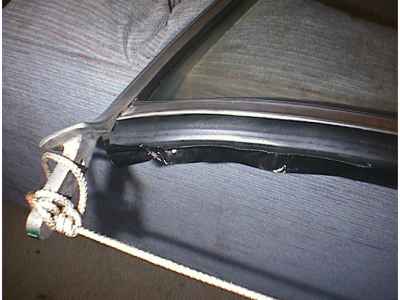
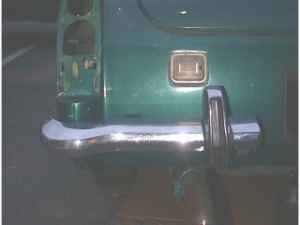
AS PURCHASED:rear window is
fogged over and very sun dried. There
is a seam rip at the drivers side lower edge of the window. (Hhhmmm...
how much rain have we had around here over the last two years....) and
you can't turn the boot handle enough to get it to lock. The license
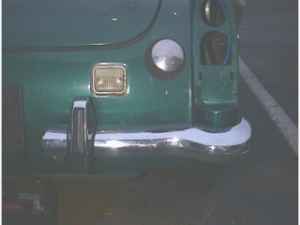
plate bracket is a rusty hulk, as are the rear bumper brackets.
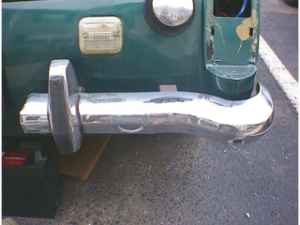
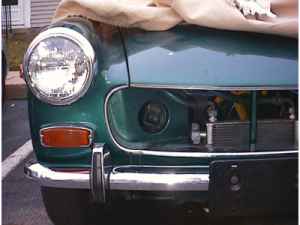
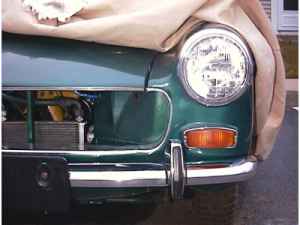
AS PURCHASED:front marker
light needs replacement, Heck, all four
running lights need replacement! The driver's door mirror to low to
be of any use.
AS PURCHASED: The bumpers are
pretty grazed. (squiggly lines corroded
throughout the chrome surface) The front license plate bracket is
rusted
solid to the bolts that mount it and the bumper is twisted and bent
right behind the plate. The grill is a little bent but should be correctable.
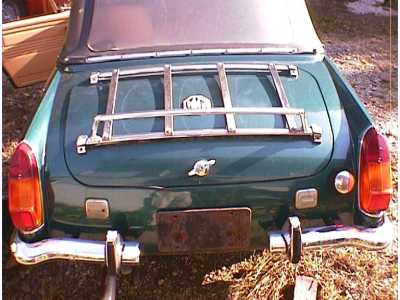
Well I've gutted everything. Finally get to look at the BACK of
everything. Oh man, Well.... the paint job is the only thing in REALLY good condition. Its going to be a cold winter working on this one. |
********************************************
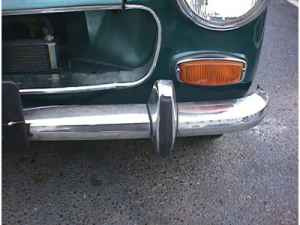
For a reasonable price (for the quality of the chrome) I acquired a nice front bumper on EBay. The guy even sold me a matching condition (better than what was here) set of bumpers.
 The old driver's side bumperette was loose. The bolt holding it on is stripped meaning I'll have to cut through it. |
 The passenger side bumperette is bent and you an see where the body work has been pressed in ever so slightly. |
 and the new ones |
 and the new ones |
 The old front bumper was bent behind the license plate bracket as if some one had tried to straighten the plate by just bending the plate. Again, this plate was rusted in place. |
 After stripping down all the hardware, sanding it all, mixing and match original and the new Ebay stuff I picked the best of all the brackets and hardware and painted it all black. |
 the new one is nice and clean. |
 The little bumperettes (over riders) will get new trim rubber at a latter date. |
|
|
|
TECH TIP!
|
 |
While the windshield and dashboard were out, I was able to paint the top of the dash to match the rest of the car. The area between the windshield wiper arms and the edge of the dashboard was still the original Limeflower. Hhmm... without those door quarter windows, put the tonneau cover on, and add a pair of Brooks windscreens ... hhmmm. |
| The windshield frame was pulled so I could replace the glass to frame seal, as well as the frame post to body seals. Every piece of rubber, leather, cork, and plastic, neoprene, nylon, whatever, has all been replaced on this car. | |
|
last edited 05/13/24 |